There is always a great deal of Joomla! development activity underway and communicating with other developers in the community is essential. This site is a resource for anyone looking to build or maintain software based on the Joomla! platform.
Where to Start


Joomla! 5.1.0-Beta 2 Release

The Joomla Project is pleased to announce the availability of Joomla 5.1 beta2 for testing.
Joomla! 5.1.0-Beta 1 Release

The Joomla Project is pleased to announce the availability of Joomla 5.1 beta1 for testing.
Joomla! 5.1.0-Alpha 4 Security and Bug Fix Release
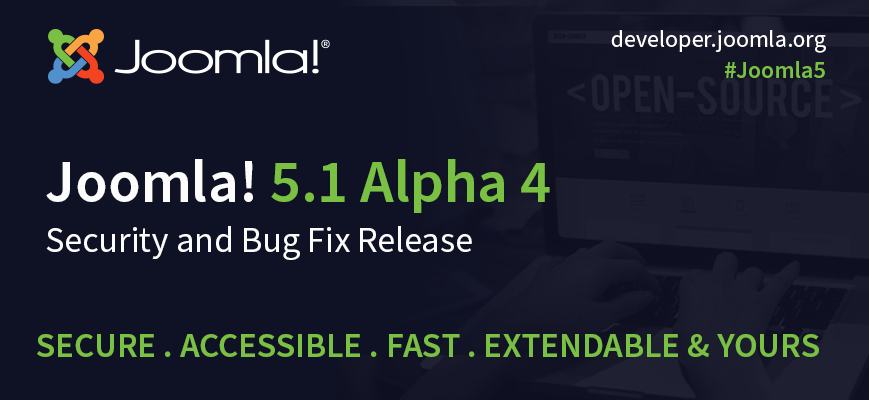
The Joomla Project is pleased to announce the availability of the first Joomla 5.1 Alpha 4 for testing.
Read more: Joomla! 5.1.0-Alpha 4 Security and Bug Fix Release